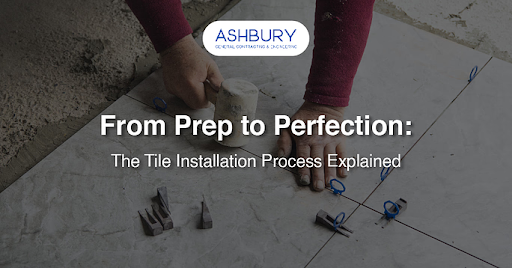
From Prep to Perfection: The Tile Installation Process Explained
When upgrading the look and feel of your home or business, tile installation is a go-to option that offers both aesthetic appeal and long-term durability. Whether you’re renovating a bathroom, reimagining a kitchen backsplash, or laying flooring in a commercial space, tiles provide a versatile and resilient surface that suits nearly any style. Contractors like Ashbury Construction, with their years of experience and expertise, have transformed the spaces into a magical bliss.
In this blog, we’ll explore the world of tile installation services—from the types of tiles available, the installation process, benefits, and how to choose the right contractor, to maintenance tips that help you protect your investment.
Why Choose Tile?
Tiles are considered to be a popular choice for residential and commercial properties for the following reasons:
- Durability: Tiles are hard-wearing and can withstand heavy foot traffic, moisture, and everyday wear and tear.
- Low Maintenance: Once properly sealed and installed, tiles are easy to clean and require little upkeep.
- Design Versatility: Available in countless colors, shapes, patterns, and materials, tiles suit every taste and theme—from rustic to ultra-modern.
- Value Addition: Professionally installed tiles can significantly enhance the value of your property.
Types of Tiles for Installation
Choosing the right type of tile plays an important role, based on its placement and usage. Here are the most common types:
1. Ceramic Tiles
Made from natural clay, ceramic tiles are commonly used for walls and light foot traffic areas. They’re budget-friendly and come in a wide range of styles.
2. Porcelain Tiles
Denser and more durable than ceramic, porcelain tiles are ideal for high-traffic areas, outdoors, or places exposed to moisture.
3. Natural Stone Tiles
Marble, granite, slate, and travertine are a few options that offer a unique, luxurious look. They need sealing and maintenance costs are higher comparatively, but they offer unmatched aesthetic appeal.
4. Glass Tiles
Mostly used as backsplashes, these glass tiles reflect light, thus providing a sleek, modern look to spaces. They can be fragile, but are stunning when installed correctly.
5. Mosaic Tiles
These come in sheets of small tiles that create patterns or pictures. They’re typically used in decorative accents, backsplashes, or shower floors.
The Tile Installation Process
The professional tile installation process, with its step-by-step process, ensures durability and aesthetic appeal:
Step 1: Site Inspection & Measurements
The contractor assesses the surface for suitability (e.g., level, clean, dry) and takes precise measurements to calculate the required amount of tile.
Step 2: Surface Preparation
Surfaces are cleaned, leveled, and, if needed, primed or treated with a waterproof membrane—especially in wet areas like bathrooms.
Step 3: Layout Planning
Before laying tiles, the installer dry-fits a layout to ensure symmetry, minimize waste, and align with the room’s focal points.
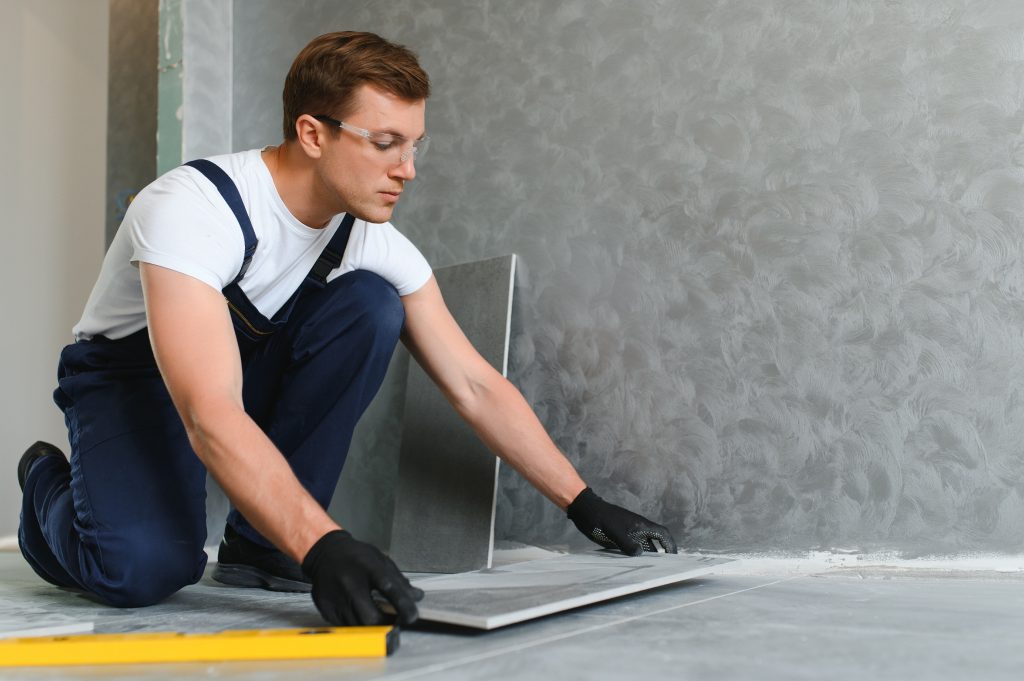
Step 4: Tile Cutting and Placement
Tile cutting is done with utmost precision tools to fit corners and edges. A thin-set mortar or adhesive is applied using a notched trowel, and tiles are placed in the planned layout.
Step 5: Grouting
After the setting of adhesive sets, gaps are filled between tiles by applying grout. Post that the excess grout is wiped off to ensure even spacing and alignment.
Step 6: Sealing (If Required)
Natural stone and some grout types may need sealing to protect against moisture and staining.
Step 7: Final Cleaning & Inspection
The area is cleaned, and the installation is inspected for quality, alignment, and finishing touches.
Hiring Professional Tile Installation Services: What to Look For
DIY tile installation is tempting, but hiring a professional can save time, effort, and costly mistakes. Things to consider while selecting a tile installer:
1. Experience & Portfolio
Look for installers with proven experience and a strong portfolio. Ask to see before-and-after photos of past projects.
2. Licensing & Insurance
Ensure the contractor is licensed, bonded, and insured to protect you from liabilities and substandard work.
3. Customer Reviews & References
Check online reviews or ask for references. Reliable professionals should have a history of satisfied clients.
4. Material Knowledge
Your installer should guide you on suitable tile types, adhesives, and grout for your specific environment.
5. Warranty & Aftercare
A reputable service provider will offer a warranty on workmanship and provide aftercare tips.
Common Applications of Tile Installation
Tile isn’t just for kitchen floors anymore. Here are popular places where tiles are installed:
- Bathrooms: Walls, floors, and shower enclosures
- Kitchens: Floors, backsplashes, countertops.
- Foyers and Corridors: Long-lasting and convenient for cleaning.
- Outdoor Areas: Patios, walkways, pool surrounds (using weather-resistant tiles)
- Commercial Spaces: Retail, restaurants, and offices due to high foot traffic, durability
Tile Installation Costs
Several factors decide the tile installation cost. These are:
- Type of Tile: Unlike ceramic or porcelain, natural stone is comparatively more expensive.
- Area Size: Larger areas naturally increase labor and material costs.
- Surface Preparation: Extra leveling or demolition increases costs.
- Design Complexity: Designs including intricate patterns or mosaic work may require more time and expertise.
The average per-square-foot installation cost (as of 2024) in the U.S. ranges from $7 to $25, both labor charges and materials costs are included.
Maintenance Tips After Installation
To keep your tiles looking new:
- Sweep or Vacuum Regularly: This can prevent dirt from scratching the surface.
- Mop with Mild Cleaners: It’s always advisable to avoid harsh chemicals, especially on natural stone.
- Seal Grout Lines: Every 6–12 months to protect against moisture and stains.
- Fix Cracks Promptly: Prevents water infiltration and tile lifting.
- Use Mats and Rugs: Especially in high-traffic areas.
Conclusion
Tile installation is more than just laying pieces on the floor or wall—it’s a skilled trade that enhances the beauty, functionality, and value of your property. Whether you’re remodeling a kitchen or designing a spa-like bathroom retreat, professional tile installation ensures the job is done right the first time.
By understanding your options, knowing what to expect during the process, and hiring experienced professionals, you can enjoy a seamless installation experience and long-lasting results.
How Ashbury Construction Can Help
Whether you’re leaning toward a full demolition or considering a detailed renovation, Ashbury Construction offers expert guidance and end-to-end services to bring your vision to life. With years of experience in both residential and commercial projects, our team ensures every project is safe, efficient, and customized to your needs.
We handle everything — from site assessments and permitting to design and execution — so you can make the best decision with confidence.
Frequently Asked Questions
How long does tile installation typically take?
Depending on the size and complexity of the project, installation time may vary. A standard bathroom or kitchen floor may take 2–3 days, while larger or custom designs could take a week or more.
Can tiles be installed over existing flooring?
In some cases, yes—especially over old tile or concrete. However, this is possible only after the surface is leveled, stable, and kept free of moisture. This is evaluated in detail by a professional during inspection.
Is sealing always necessary?
Not always. Porcelain and ceramic tiles often don’t need sealing, but natural stone and certain grouts do. Sealing gives protection against stains and water damage.
What causes tiles to crack or lift after installation?
Common causes include poor surface preparation, improper adhesive use, foundation movement, or lack of expansion joints. Hiring skilled professionals reduces this risk.
How do I clean grout lines effectively?
Use a baking soda and vinegar solution or commercial grout cleaner with a stiff-bristled brush. For stubborn stains, steam cleaners or re-grouting may be necessary.